You’ve got your first photoshoot booked and you reckon you can bust out a few moves and that you’ll wear your favourite pole shorts. You’re all sorted right?
Well, there’s actually a lot more you can do in the way of preparation to ensure you get the most out of your shoot as you can and we’re here to give you the low down!
Outfit Choice
This is largely down to your personal choice and what look you’re hoping to create, but here are some pointers:
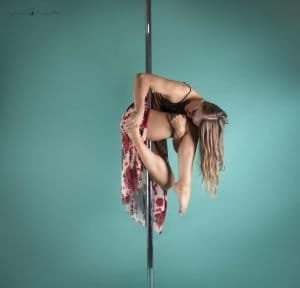
-What colour is the backdrop going to be? Ensure you avoid choosing an outfit the same colour as the backdrop so that you don’t end up blending in! Black outfits stand out well against most colours, so this is a good bet if you haven’t been informed of the colour.
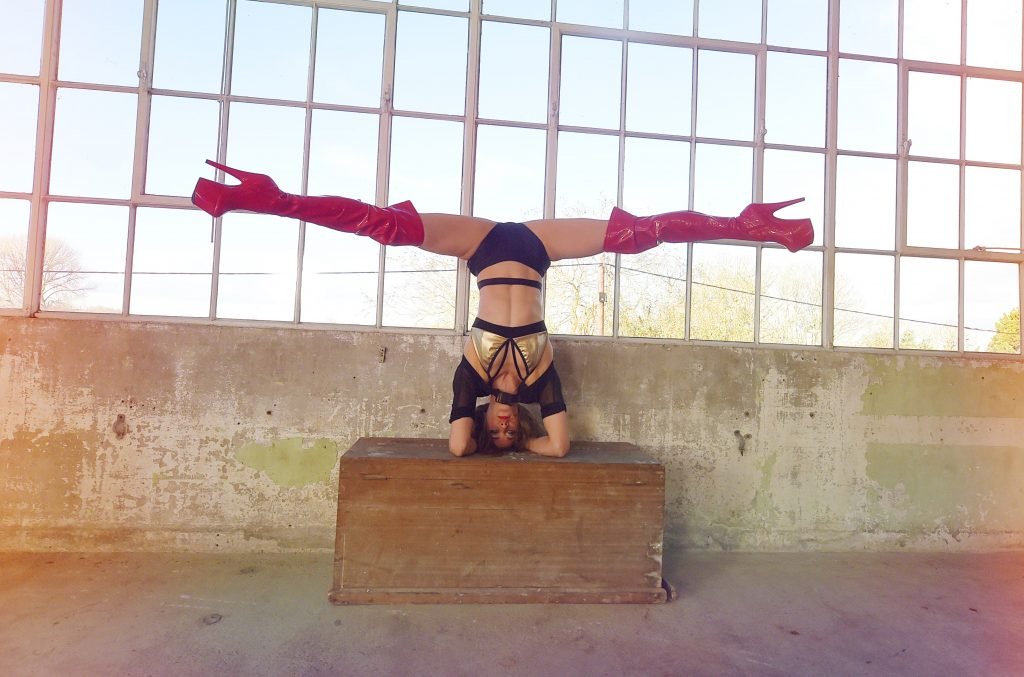
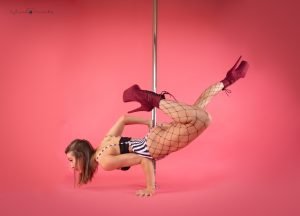
-If you’ve decided to wear heels, are you confident you can perform all of your chosen moves wearing these, or will you remove the heels for some of them?
-If you’ve gone for a bikini or lingerie, have you checked that it gives the coverage needed for your planned pole moves?
-Have you ensured that all your usual grip points are useable? An all in one body suit can look gorgeous, but you might struggle with the absence of waist grip when it comes to comes like Jade.
-Have you removed the tags and labels? Nothing ruins a good pole photo like a rogue knicker label!
Moves
Can you do an Iron X or a Rainbow Marchenko? Great, you’ll probably want to get photos of those achievements. But are the mega strength and super flexibility moves the only ones worthy of demonstrating in our photoshoots? Absolutely not. And don’t be put off if you feel like you don’t yet have a big repertoire of moves either, because simple can be beautiful and you’d be surprised how much you actually can do using your pole foundations:
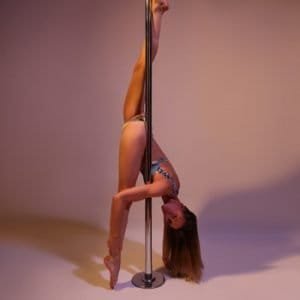
-Can’t invert yet? Focus on your standing poses and shapes next to and in front of the pole.
-Don’t like climbing? What about floor-based shapes and movements. Back Arch March might just help you with this!
-Feel like a seat is too boring? Allow yourself to get creative – you’ve learnt the fundamentals, so why not try experimenting with bent and straight legs, crossing at the knees or ankles, leaning into or away from the pole, legs together or apart..

To Do’s
Long term (in the months leading up to the shoot)
- Book your place! You can book our latest shoot (taking place on Saturday 19th March 2022) by clicking here
- Make a list of moves/shapes that you love and would like to get photos of during the shoot
- Divide them into ‘Definitely’ and ‘Maybe’ columns
- Check that you can actually still do the moves in your ‘Definitely’ column! Moves have a sneaky habit of disappearing without you noticing!
- Start to train towards your goal moves
Medium term (the month of the shoot)
- Now is the time to review the list. If you haven’t yet reached your goal moves, remove them from the list – you do not want to injure yourself before the shoot trying to get a move that you’re not ready for yet.
- Use your Self Practice sessions and the mirrors/videos to refine the shapes you’ve picked and use the below checklist to ensure the move is a goer:
-Can you hold the move for approx. 10 seconds? If not, the photographer will struggle to get a good shot and you will waste your timeslot and your energy trying to re-enter the move several times.
-Do you want to end up facing towards or away from the camera?
-Dependent on your answer to the above question, which way will you need to face to enter the move? (Remember, when you invert, your front becomes your back and you may twist around the pole – make it your mission to work all of this out in advance!)
-Should you look directly at the camera or into the distance?
-Which way should you turn your head?
-What are you going to do with your free hand?
- If you haven’t already thought about it, ensure you plan your outfit. Hopefully you can use your favourite set, but in case you were planning on splashing out on something new, you’ll need to allow enough time to order/try on/return and ensure your chosen garms/shoes make you feel like a superstar! Read more in the Outfit Choice section above.
- Are you doing your own hair and makeup, or do you need to ensure you’ve got these booked in?
Short term (the week before/of the shoot)
- Write out your final list of moves in order of which you will do first. Some moves sap a LOT of energy and it’s wise to get photos of these first whilst you’re still feeling fresh and when you will have the best form and be able to perform the move most safely.
- Add prompts to each move based on your answers to the questions above. See the example below:
Scissor Seat
-Start on my left of pole
-Remove left hand to open body towards camera
-Arch back
-Look towards top hand
- Have a final run-through at Self Practice to make sure you’re happy with everything.
The night before/On the day
- Eat! You would be amazed how much energy you will expend squeezing every muscle to within an inch of it’s life! Fuel up well the evening before and a couple of hours before your slot and drink plenty of water to ensure you won’t feel lightheaded when hanging upside down for 10 seconds at a time.
- Not everyone is a fan of fake tan, but a light application in the last couple of days before the shoot can really highlight those well-earned pole muscles and help disguise the pole bruises you’ve managed to pick up whilst prepping for the shoot.
- Get yourself ready in good time to ensure that you are happy with your hair, make up and outfit and are feeling like a million dollars – that confidence will come through in your finished edits!
- Ensure you arrive with plenty of time to spend warming up so that when it’s your turn, you can step straight in and start being snapped
During the shoot
- Let the photographer (and the assistant if there is one) know what move you’re going into so that they can help if needed
- Listen to instructions from the photographer – it’s their job to try and get you the best images and if they’re telling you to look up when you’d planned to look down, do what they say! Chances are they are trying to get experiment with the best angles and that you’ll be able to pick the best one later anyway
- Enjoy the experience!
After the shoot
- You have pushed so hard for the straightest legs, the pointiest toes and the longest hold, that you are going to ache tomorrow and getting your warm layers back on and stretching well straight afterwards is the best way of reducing the DOMs.
- Eat some more! Again, it might have been such a short burst of activity, but you’ve worked really hard, so make sure you don’t wait too long before rehydrating and eating after your shoot.
And that’s it! Now you just wait eagerly for your raw images to come through from the photographer! Remember that they are very busy people and that it may take several weeks or even months for you to receive your images back. But seeing that email land in your inbox and picking your favourites like sweeties is very exciting! Then you get to experience the same thing over again when awaiting the finished edits of your selected few photos!
What are your photoshoot tips? Let us know in the comments!


